
.svg)


How to Create AI Images for eLearning: Prompts, Styles, and Consistency


.avif)
If you’re using AI to generate learning visuals, the difference between “usable” and “generic” comes down to one thing:
How you prompt.
This guide gives you a practical, repeatable approach to creating AI images that are:
- Relevant to your learners
- Consistent across your course
- Aligned with your brand
What Is the Best Prompt Structure for AI Images?
Use this simple framework:
AI Image Prompt Formula
- Style – photo, illustration, icon
- Subject – person or object
- Action – what is happening
- Setting – where it takes place
- Details – attributes, mood, objects
Example
“Digital illustration of a customer support agent assisting a client via headset in a modern office, calm expression, dual monitors, natural lighting”

Why Your AI Images Look Generic (and How to Fix It)
Problem:
You’re too vague.
Example:
“Person using a computer”
Result:
Generic, often unrealistic image

Fix:
Add specificity
Example:
“Healthcare administrator in a hospital office reviewing patient data on a desktop computer, mid-40s, professional attire, realistic environment”

How to Create Consistent AI Characters
For scenario-based learning, consistency is critical.
Step-by-step:
- Generate a base character
- Save that image
- Use it as a reference
- Change one element at a time:
- Expression
- Pose
- Setting
Tip:
If results drift, restart with the original reference image.
How to Keep Visual Style Consistent
Use consistent style phrases:
- “Editorial photo” (realistic)
- “Digital illustration” (balanced)
- “Modern corporate illustration” (training-friendly)
- “Whiteboard line drawing” (simple concepts)
Add brand alignment:
- Include color descriptions
- Use hex codes if supported
How to Create AI Icon Sets
You can generate multiple icons in a single prompt.
Example approach:
- Define style: “modern line icon set”
- Define colors
- Specify layout (e.g., grid)
- List concepts
Example output:
- Laptop
- Document
- Workflow
- Lightbulb
- Checkmark
These can then be split and reused across your course.
How to Improve Representation in AI Images
AI defaults to biased or generic outputs unless guided.
Always specify:
- Gender
- Ethnicity
- Age
- Setting
Example:
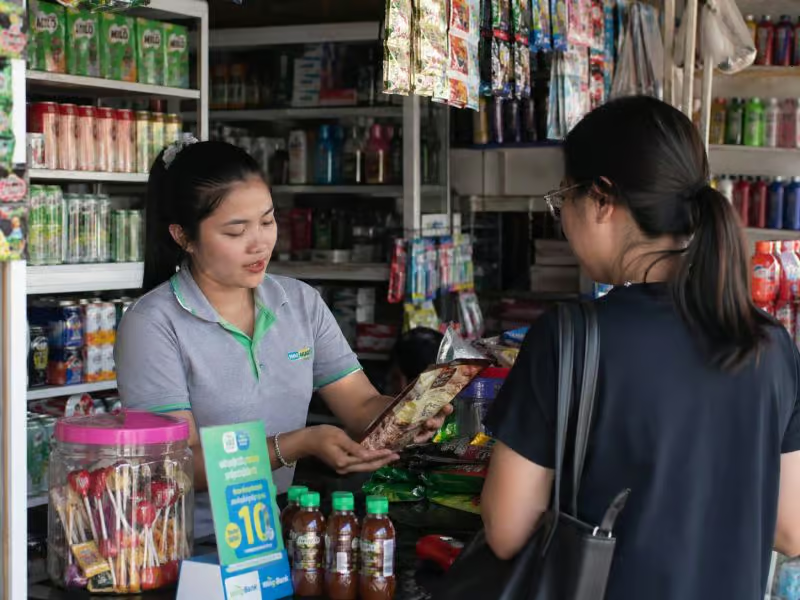
“Retail employee in a small urban store in Southeast Asia assisting a customer, realistic environment”
How to Improve Existing Courses with AI Visuals
You don’t need to start from scratch.
Workflow:
- Identify weak visuals
- Generate improved replacements
- Maintain consistent style
- Replace incrementally
Example:
- Before: Original course visuals
- After: AI-enhanced version


How to Scale AI Visuals Across Learning Content
Creating images is one step. Managing them is another.
With dominKnow | ONE, you can:
- Reuse visuals across multiple courses
- Keep styles consistent across teams
- Update visuals globally
- Manage multiple languages in one course
This turns your prompts into a repeatable system—not just a one-time task.
Quick Checklist: AI Images for eLearning
Before you finalize an image, ask:
- Does it match the learner audience?
- Is the style consistent with the course?
- Does it support the learning objective?
- Can it be reused elsewhere?
Final Tip: Practice and Iterate
AI image generation is a skill.
Even experienced designers:
- Generate unusable images
- Refine prompts multiple times
- Experiment with styles
The difference is having a process.
👉 Want to see these techniques applied step-by-step?
Watch the hands-on webinar